02.4 Scenario Setup and Execution
After adding a scenario, it is recommended to modify the scenario's name (1) and save the changes by clicking the Save button (2).

The Save button becomes active immediately after making any changes to the scenario or its nodes. To avoid losing changes in the scenario, it's important to save them regularly.
At the bottom of the scenario page, there are buttons for configuring and running the scenario:
- Active - a toggle switch to change the scenario's activity:
If the scenario is active (status Active), manual execution is not required. Requests initiating the execution of the scenario can be sent to the Trigger on Webhook node regularly and continuously;
If the scenario is not active (status Paused), you need to manually start the scenario before sending a request to the Trigger on Webhook node.
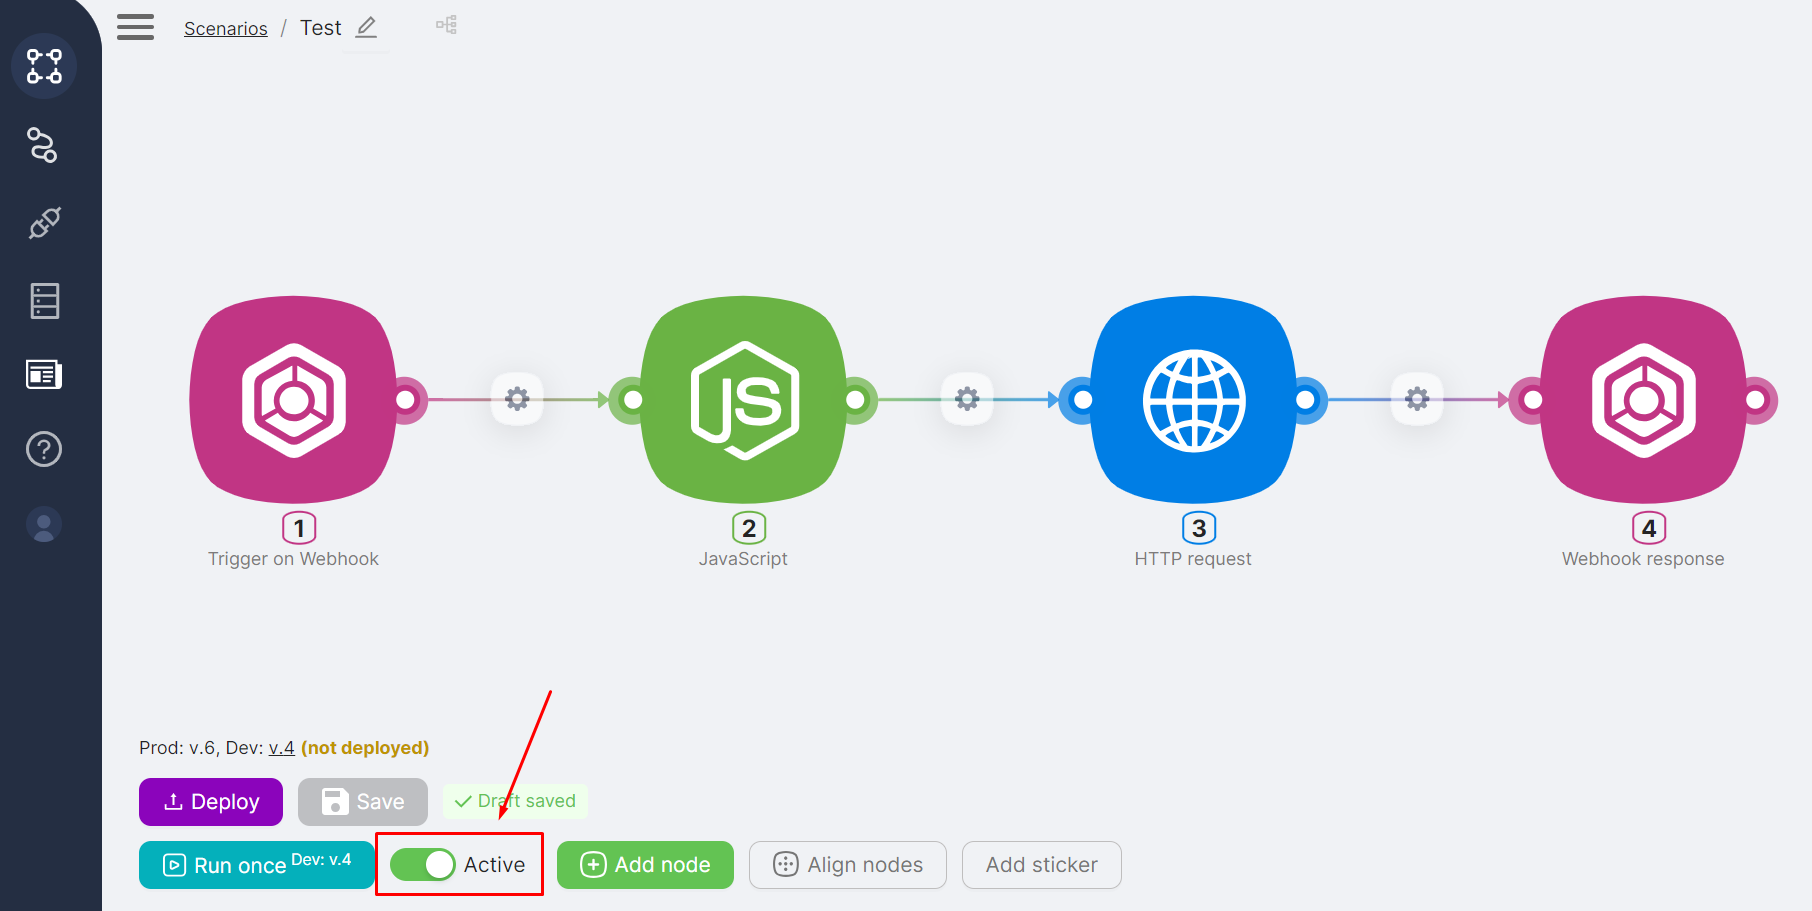
Notifications about the results of executing scenario nodes are displayed only when the scenario is manually started.
- Run once - a button for manually triggering a one-time execution of the scenario. After clicking the button, only one request is available to initiate the execution of the scenario. If you need to send another request to the Trigger on Webhook node, you'll need to start the scenario again;

More about the scenario execution history, see Scenario Launch History.
- Stop - a button for manually stopping a running scenario;

- Deploy - a button to update the Production-version of the scenario. When you click this button, the current Development-version of the scenario is published to the Production branch;
For more information about the script versions, see Scenario Versions

To initiate the Production-version of the scenario, you need to send an initiating request to the Production-version URL of the Trigger on Webhook node.
- Align Nodes - a button for aligning the nodes of a scenario chain horizontally if the nodes are connected by routes;
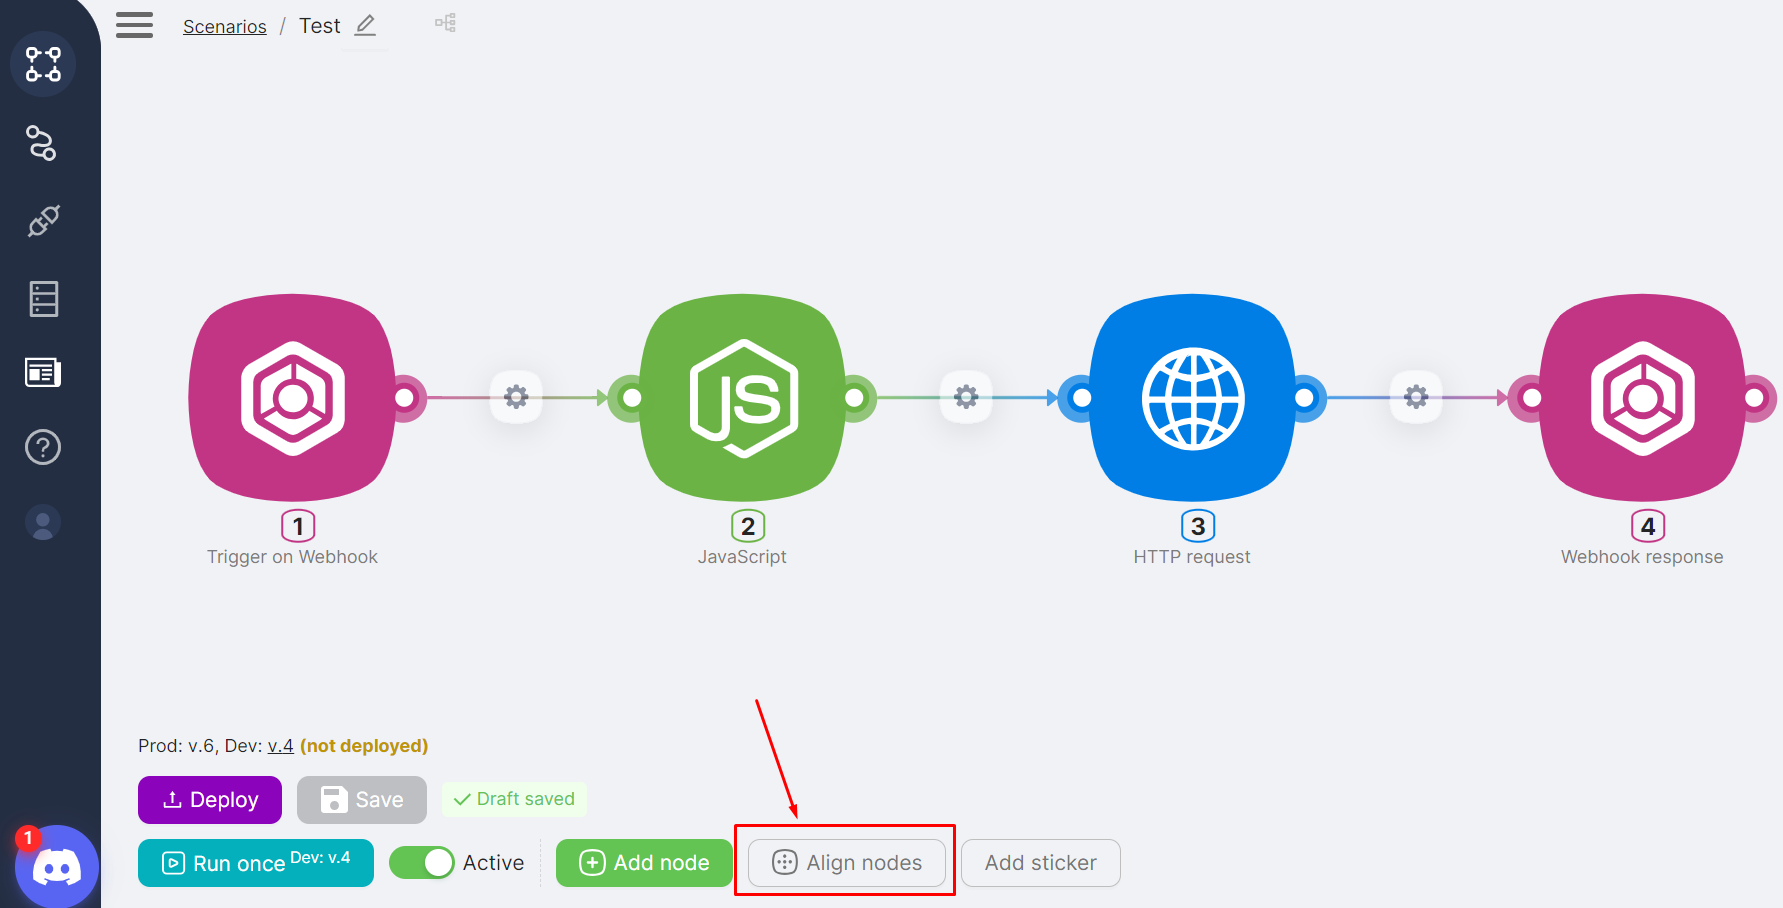
If the nodes of the scenario are not connected, then a row of isolated nodes will be aligned vertically.
- Add sticker - button for adding stickers.
Stickers are not required for any functions, but can be used for comments or storing necessary information about the scenario. After adding a sticker, text input, formatting, as well as adding links and code snippets are available.

The added sticker can be resized by dragging its edges (1). By right-clicking on the sticker, you can:
- (2) Copy the sticker to duplicate it in the current or another scenario;
- (3) Delete the sticker.
