05.1 Adding and configuring routes
Adding a Route
If a node is added through the route point of an existing node, a route between these nodes is established automatically.
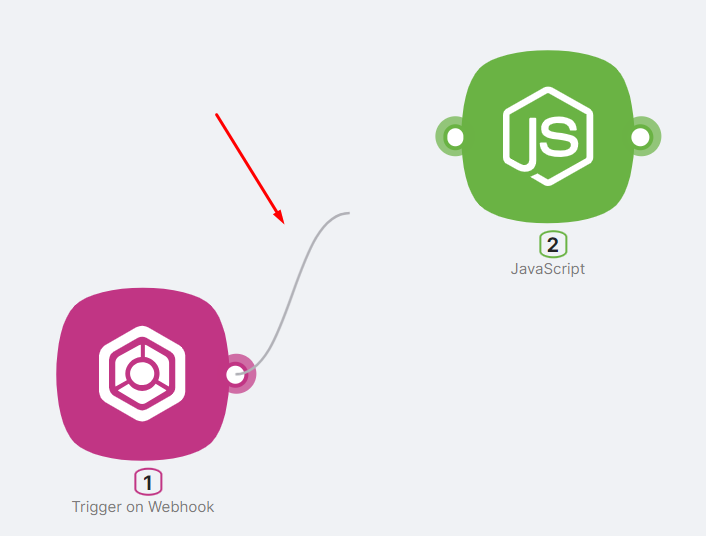
If a node is added through the Add Node button, you should set up the route manually by connecting the two route points of the desired nodes in the correct direction.
Route Configuration, Conditions
caution
When there are multiple routes through which the scenario can proceed, the route with a value of TRUE in the Condition field will be chosen.

Example of a route with a Condition value of TRUE:
- If 1.body.ValueWH = 45, then TRUE;
- If 1.body.ValueWH = 125, then FALSE.
After adding the route, you can access its settings by clicking the Setup a filter button.
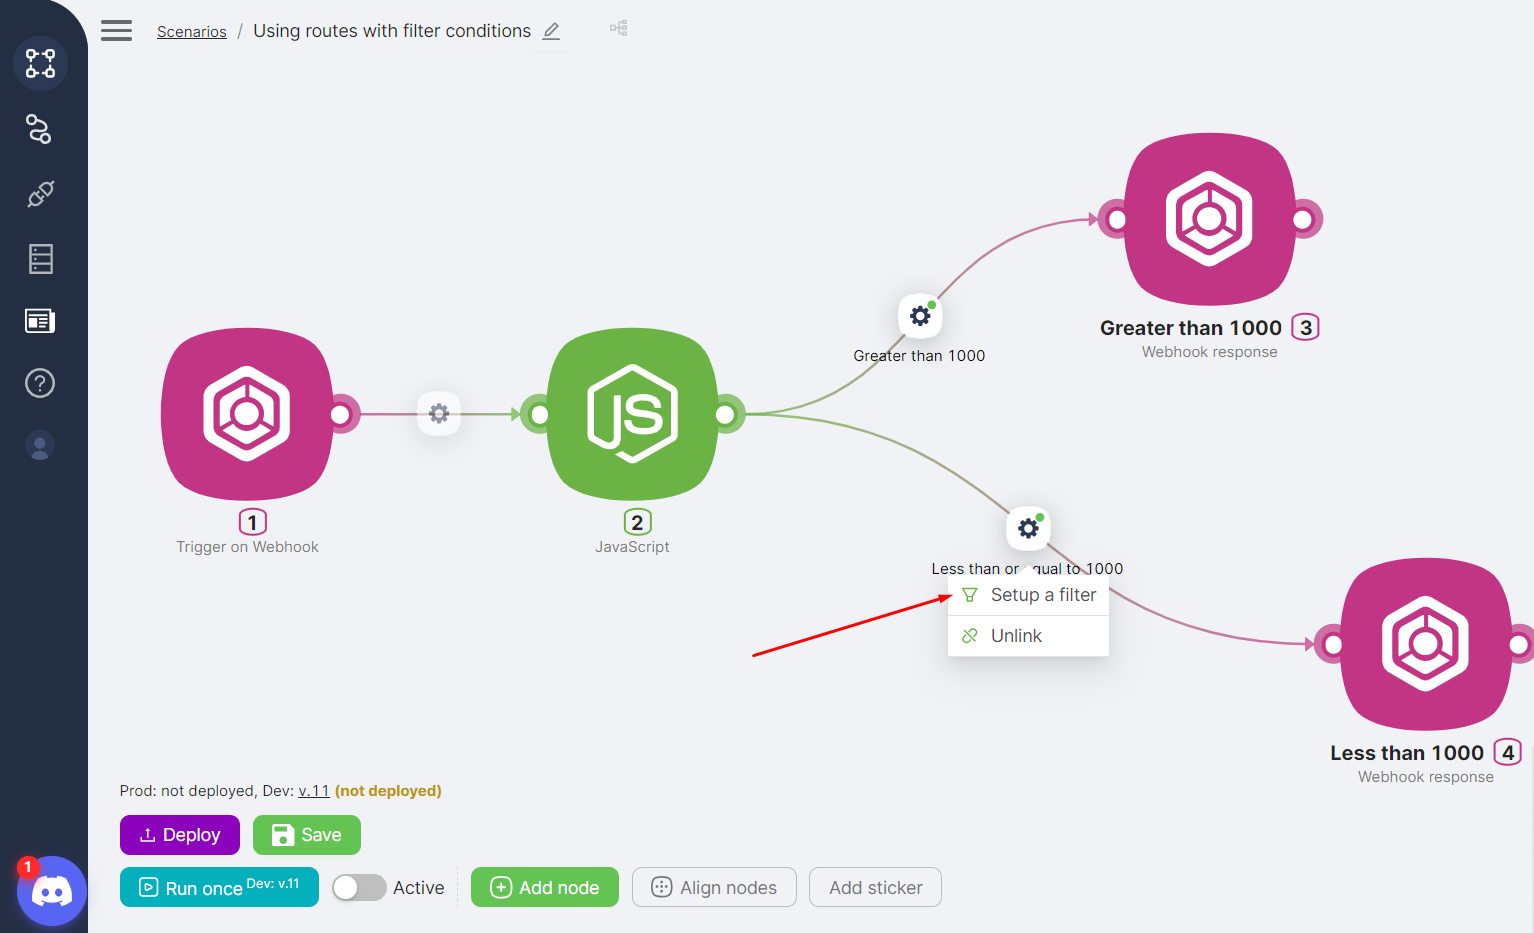
In the route configuration window, you can:
- Change the route name in the Name field (1);
- Enter filter conditions in the Condition field (2), selecting logical operators for expressions in the Operators window (3) and values/parameters from previous nodes in the Data window (4);
- Save the changes by clicking the Save button (5).

tip